


Mastering repairs with clips or rails maximises efficiency and durability in maintenance tasks. Understanding the right tools, accurate damage assessment, and methodical installation ensures lasting results. This guide offers practical techniques, from preparation to troubleshooting, empowering you to tackle clip and rail repairs confidently while avoiding common pitfalls. Whether you choose clips or rails, informed decisions enhance both safety and performance.
Essential Tools and Materials for Clip and Rail Repairs
When tackling clip and rail repairs, having the right tools for clip and rail repair is crucial for a successful and efficient job. A well-prepared repair tool kit streamlines the process, minimizes errors, and ensures the longevity of the repair.
Additional reading : Top Drought-Resilient Plants Perfect for Your UK Garden
Key tools typically include:
- Screwdrivers (both Phillips and flathead) for removing and securing clips and rail components.
- Cordless drill with various drill bits to handle fastening and drilling tasks.
- Pliers for gripping and manipulating clips during removal or installation.
- Measuring tape and level to ensure precise alignment and spacing of rails.
- Rubber mallet to gently tap components into place without causing damage.
The repair materials checklist should cover essential replacement items such as compatible clips, rail sections, and fasteners appropriate for the specific system being repaired. High-quality materials ensure durability and safety.
In the same genre : Maximizing Solar Efficiency: The Best Panel Arrangement for Terraced Roofs in Reading
Safety cannot be overlooked: personal protective equipment (PPE) like safety glasses, work gloves, and dust masks protect against debris and sharp edges encountered during repairs.
Understanding the full scope of tools and repair materials required allows you to execute repairs with confidence and efficiency. For a practical guide on fixing methods using clips and rails, consider exploring this comprehensive resource on https://www.fiberdeck.com/cladding/weo-brise-soleil/.
Preparing for Repair: Assessment and Safety Measures
Before starting any clip or rail repair on your cladding system, a thorough assessment of damage is crucial. Begin by carefully inspecting the clips and rails to identify any deformations, corrosion, or detachments. Look closely for signs of wear that might compromise structural integrity or the proper function of the cladding. This detailed diagnosis prevents overlooking hidden faults that could lead to further problems post-repair.
Ensuring a safe working environment is next on the checklist. Follow essential repair safety tips such as wearing protective gloves, goggles, and sturdy footwear. Secure ladders or scaffolding properly if working at heights, and make certain the workspace is free of hazards like loose debris or unstable surfaces. Electrical tools should be checked for damage and used only with appropriate grounding.
Preparation for clip repairs also involves cleaning the area around the damaged sections. Removing dust, dirt, and rust can greatly improve the adhesion of repair materials and prevent future deterioration. Use gentle cleaning agents and avoid harsh chemicals that might degrade the cladding or fasteners. This pre-repair cleaning and preparation stage lays a solid foundation for a successful and long-lasting repair.
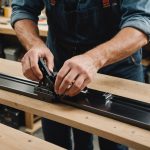
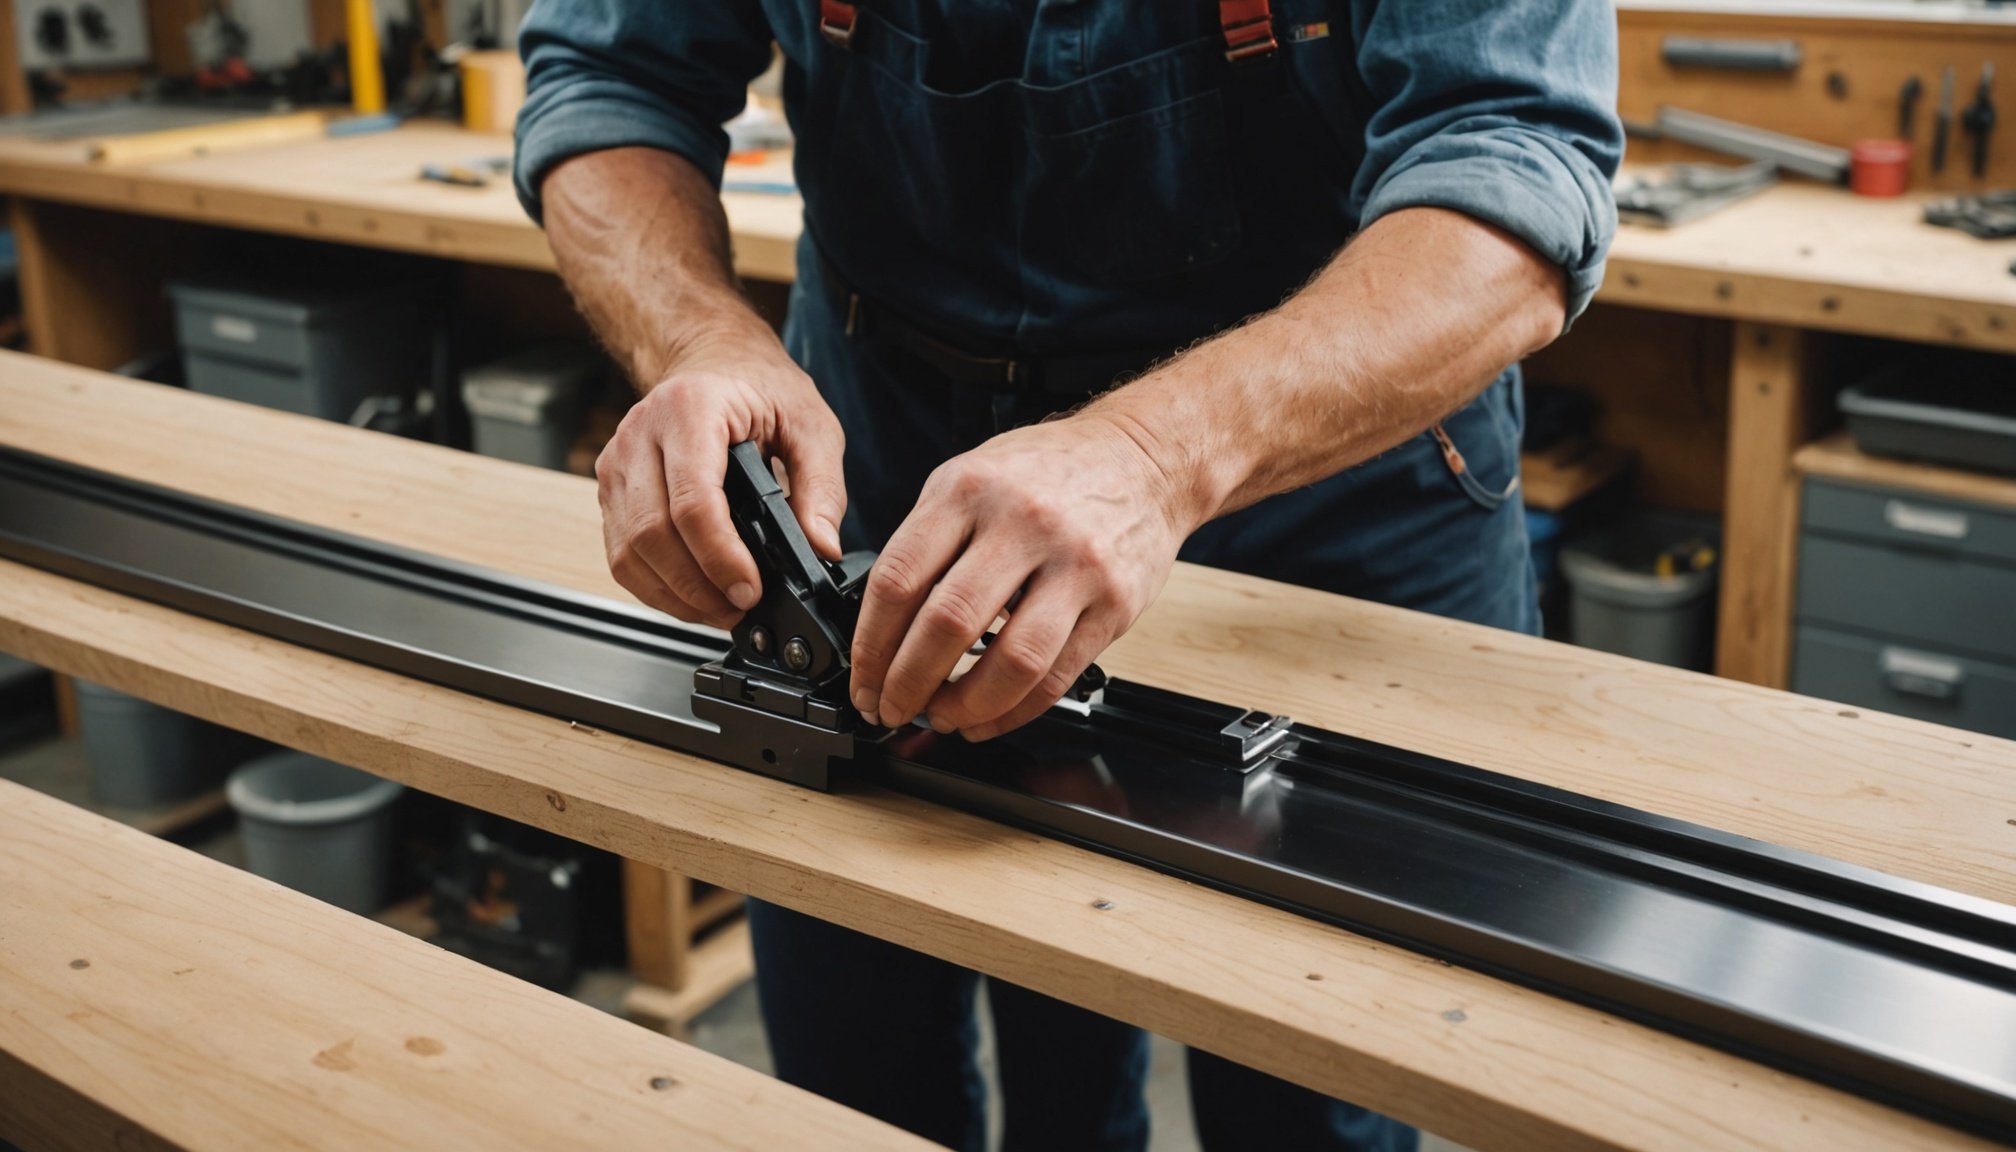
Step-by-Step Guide: Repairing with Clips
When it comes to clip repair guide processes, following a clear sequence of actions ensures durability and safety. The first repair step involves carefully removing damaged or worn clips. This is essential because compromised clips can jeopardize the integrity of the entire structure. Use appropriate tools to detach the old clips without harming adjacent components.
Next, aligning and installing new clips accurately is crucial. Proper alignment guarantees that the replacement clips fit snugly and maintain even pressure throughout the repair site. During installation, position each clip precisely according to the manufacturer’s specifications or best practices to avoid misalignment, which could lead to premature wear or failure.
Finally, securing and testing the repaired section confirms the success of the operation. Tighten clips firmly but avoid over-tightening to prevent material damage. After securing, perform a gentle stress test by applying minor force to the area to ensure the clips hold firmly. This step validates the stability of the repair and highlights any areas that might need adjustment.
By following these clip replacement techniques, you not only restore functionality but also extend the lifespan of the assembly.
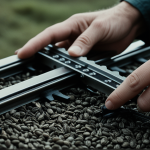
Step-by-Step Guide: Repairing with Rails
Repairing with rails begins by identifying rail damage accurately. Look for signs like cracks, warping, or breaks that impair the rail’s structural integrity. To fix broken rails, first, carefully remove the damaged section. This often involves detaching clips or screws holding the rail in place. Proper removal prevents damage to surrounding materials and ensures a clean surface for the new rail.
Next, measuring and selecting appropriate replacement rails is vital. Measure the exact length and profile of the removed rail to match the new one precisely. Selecting the right material and type ensures durability and compatibility with the existing system. Using incorrect rails can lead to poor fit and future failure.
The rail replacement process culminates in installing the new rail with care. Position the replacement rail accurately, using alignment tools if necessary. Secure it with the original or compatible fasteners, maintaining the original spacing and tension to avoid misalignment. Ensure that clips or rails are correctly fastened to prevent shifting over time.
Troubleshooting Common Problems in Clip and Rail Repairs
When addressing clip repair issues or rail repair troubleshooting, the key is to identify problems early during installation or alignment. Misalignment can cause uneven stress, leading to loose or misfitted clips and rails, which often become the root cause of durability problems.
One of the most frequent repair mistakes is improper securing of clips to the substrate, which allows movement and eventual detachment. To fix loose clips, first inspect the fastening method and replace any worn or damaged screws or anchors. For rails, ensure they are perfectly leveled and aligned with the clips to prevent uneven pressure.
Additionally, understanding the specific installation guide for the cladding system is crucial to avoid common mistakes, such as over-tightening clips, which can cause deformation, or using incompatible materials that degrade over time. These steps ensure a more durable repair and long-lasting performance.
Comparing Repair Methods: Clips Versus Rails
When considering clips vs rails repair, the choice often hinges on the specific situation and material involved. Clips are typically preferred in scenarios where quick, less invasive fixes are needed. They provide a straightforward way to secure panels or cladding without requiring extensive disassembly. This makes clips an ideal option for small-scale repairs or areas with restricted access, where minimizing disruption is critical.
Rails, on the other hand, offer a sturdier foundation and are more suitable when the repair demands long-term durability or involves large panels. The advantages of using rails include enhanced structural support and better alignment control, which can be essential for maintaining the aesthetic and functional integrity of surfaces, especially in outdoor or high-traffic environments.
When evaluating the best repair techniques, cost, time, and effectiveness are key factors. Clips generally incur lower upfront costs and faster installation times but may require periodic maintenance or replacement. Rails often involve a higher initial investment and longer installation but provide a more permanent solution, reducing the likelihood of future repairs.
Ultimately, understanding these distinctions helps make informed decisions tailored to your project’s needs.
Maintenance Tips for Long-lasting Clip and Rail Repairs
Maintaining clip and rail repairs effectively is crucial to ensure their durability and optimal performance over time. A key part of the maintenance of clip and rail repairs involves establishing regular inspection routines. Inspect clips and rails at least twice a year, paying close attention to signs of wear, corrosion, or loosening. Early detection of issues allows for timely intervention, preventing more extensive damage.
Preventive measures are equally important to maintain repair durability. Keeping the clips and rails clean from debris and moisture reduces the risk of corrosion and material degradation. Applying protective coatings recommended for your specific cladding material can help shield repair components against environmental factors. Additionally, fastening systems should be checked to maintain proper tension and alignment, as misalignment can cause undue stress on the repairs.
When selecting products for maintenance of clip and rail repairs, choose those designed for exterior cladding systems that offer corrosion resistance and UV protection. Specialty lubricants and sealants can extend the lifespan of metal components by preventing rust and promoting smooth flexibility.
By following these longevity tips, such as thorough inspections, preventive care, and appropriate product use, you can significantly enhance the life expectancy and reliability of your clip and rail repairs. Consistency in maintenance is the best strategy for lasting performance.